Photography tips painting with your digital camera & Photoshop – Part 2
Using RAW files in Photoshop (or similar software) allows you to work with as much data as is available within the image. Further fine tuning takes place in the Photoshop layer effects panel or the image editing options in the drop down menu. However, that additional adjusting is critical to really pulling out the best in your image. Frankly, it is your digital darkroom—I do not abide by the “purest” that believes post-processing is fakery. Just as Ansel Adams found Vera-contrast paper or shooting with Agfa Gevaert Ultra-50 film helps to create awesome imagery—I will continue to search for ways to pull the best out of my photographs.
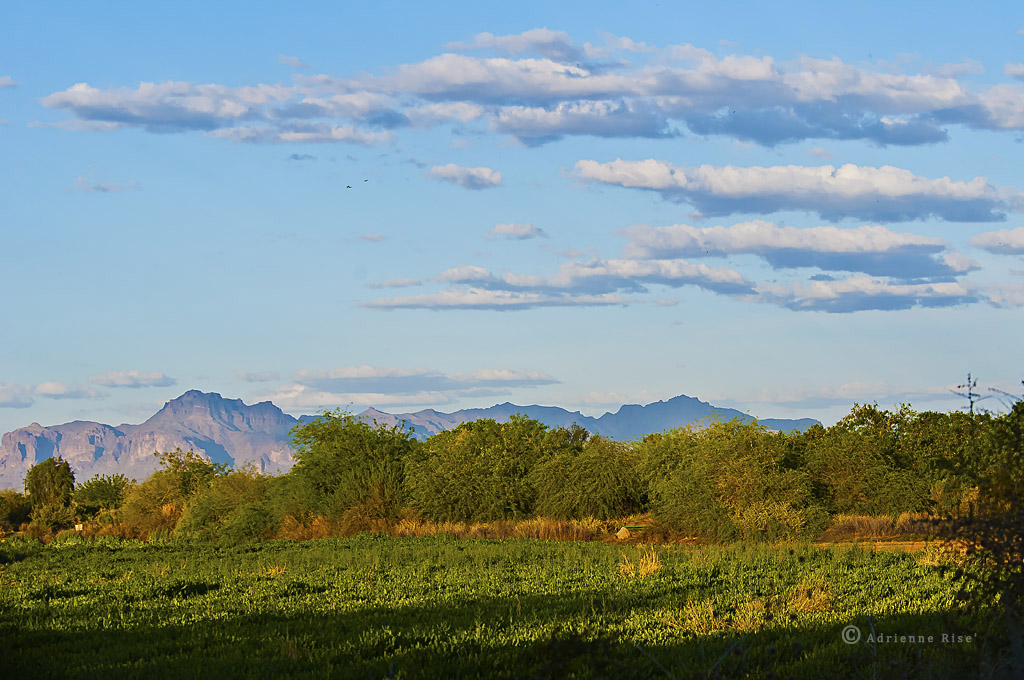
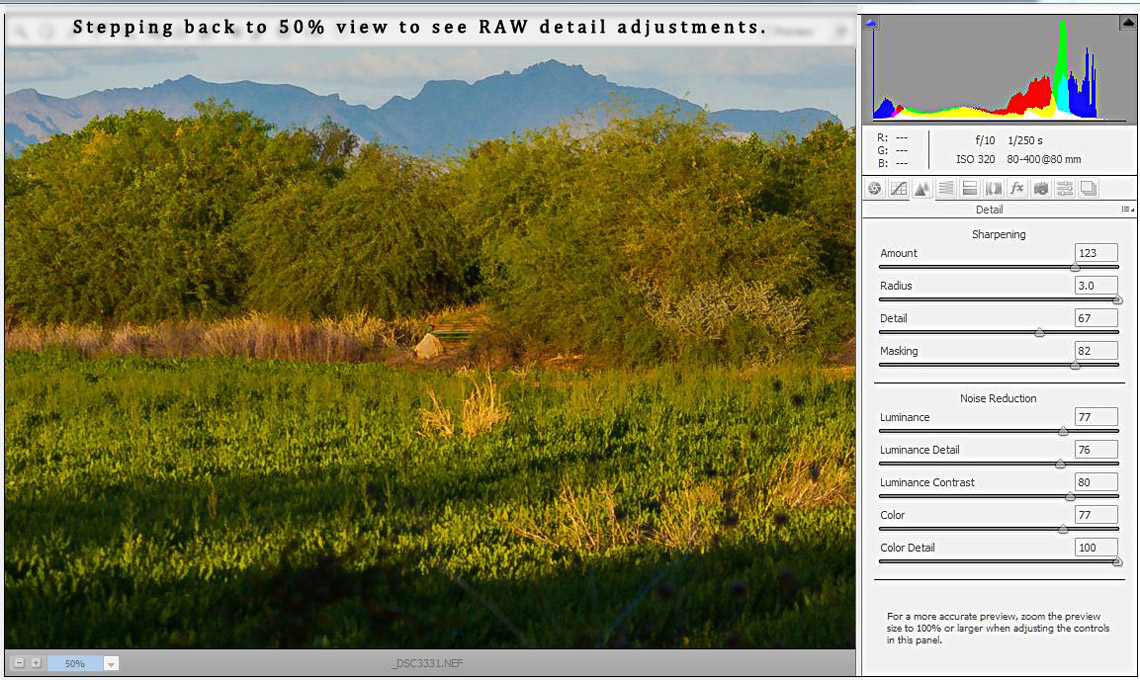
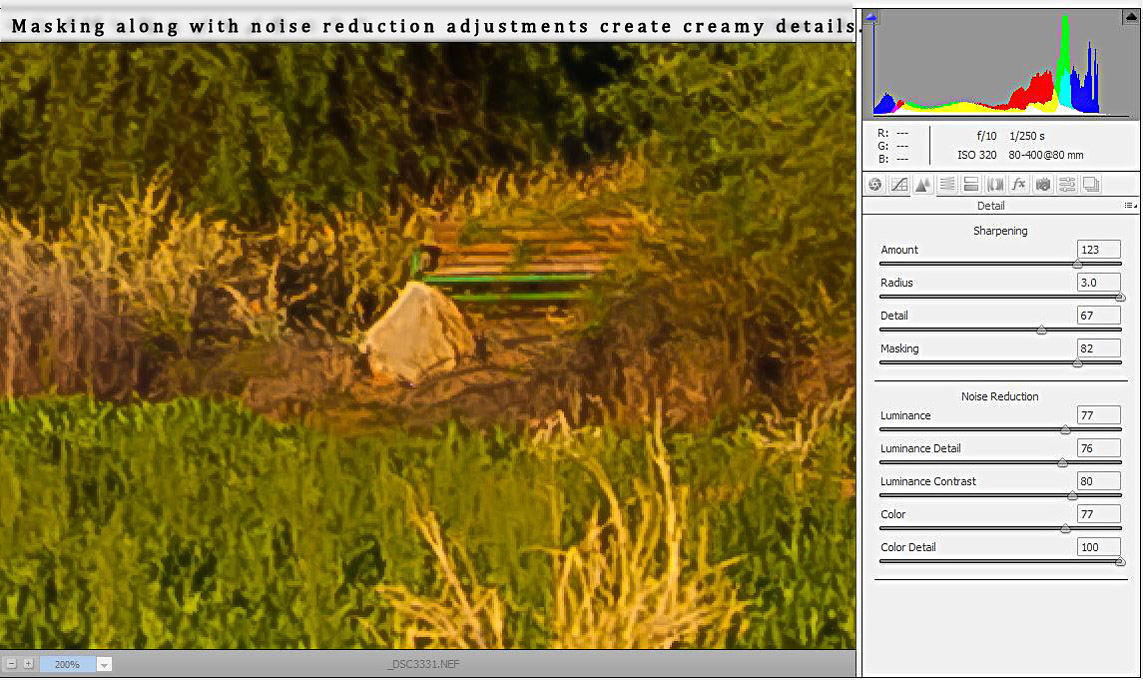
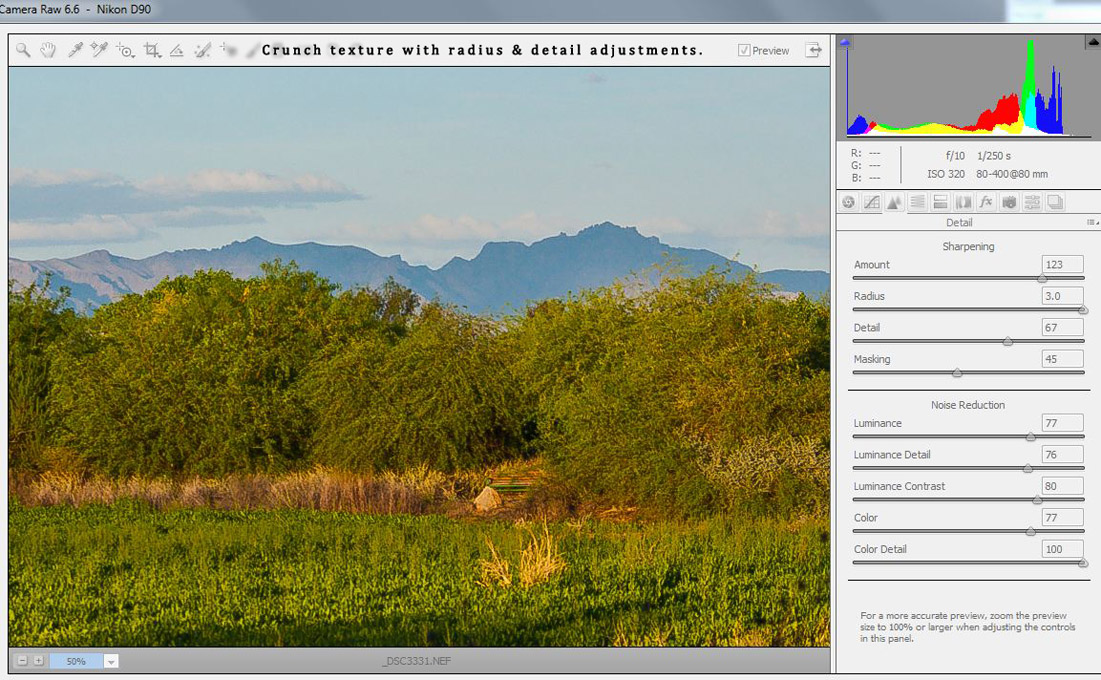
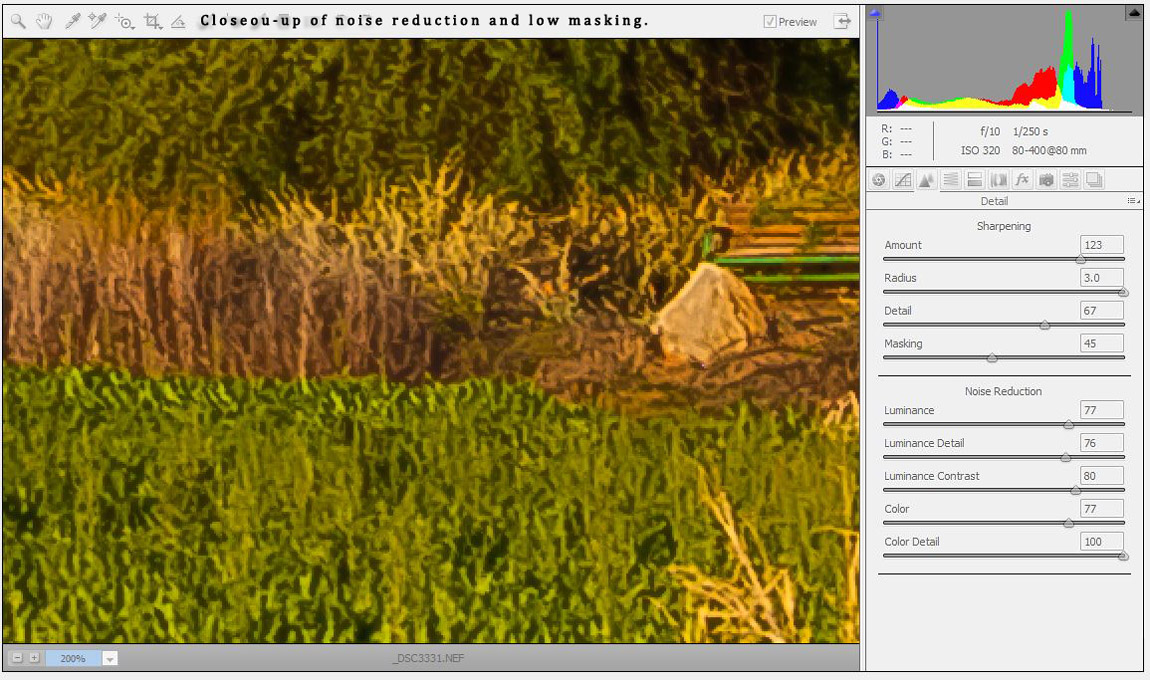
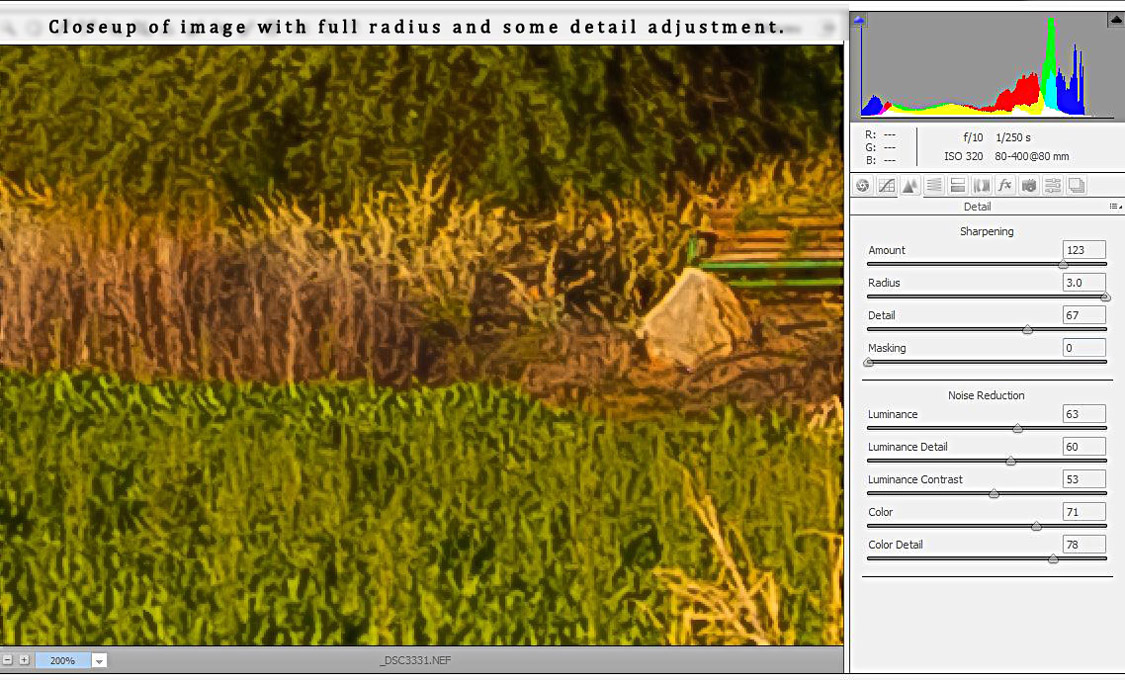
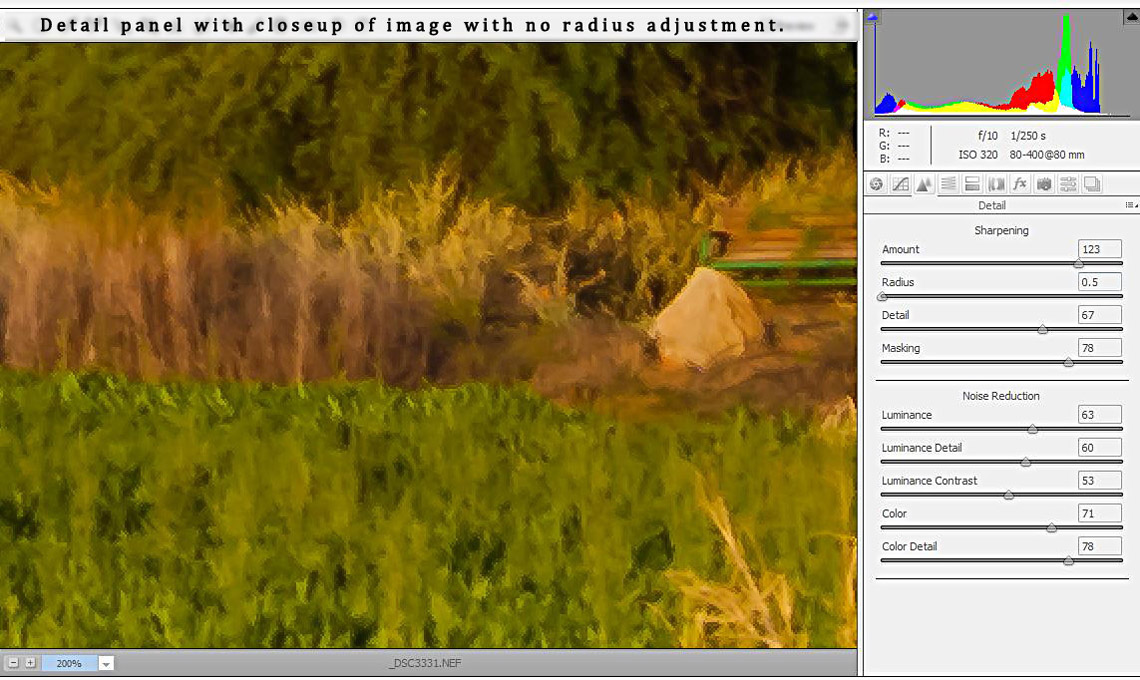
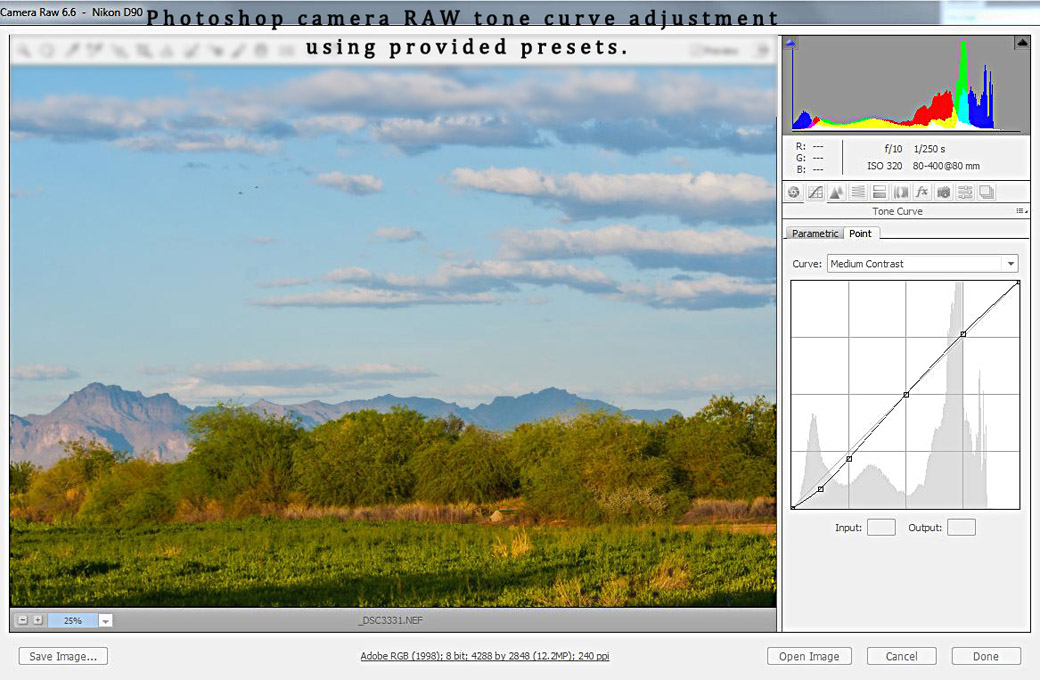
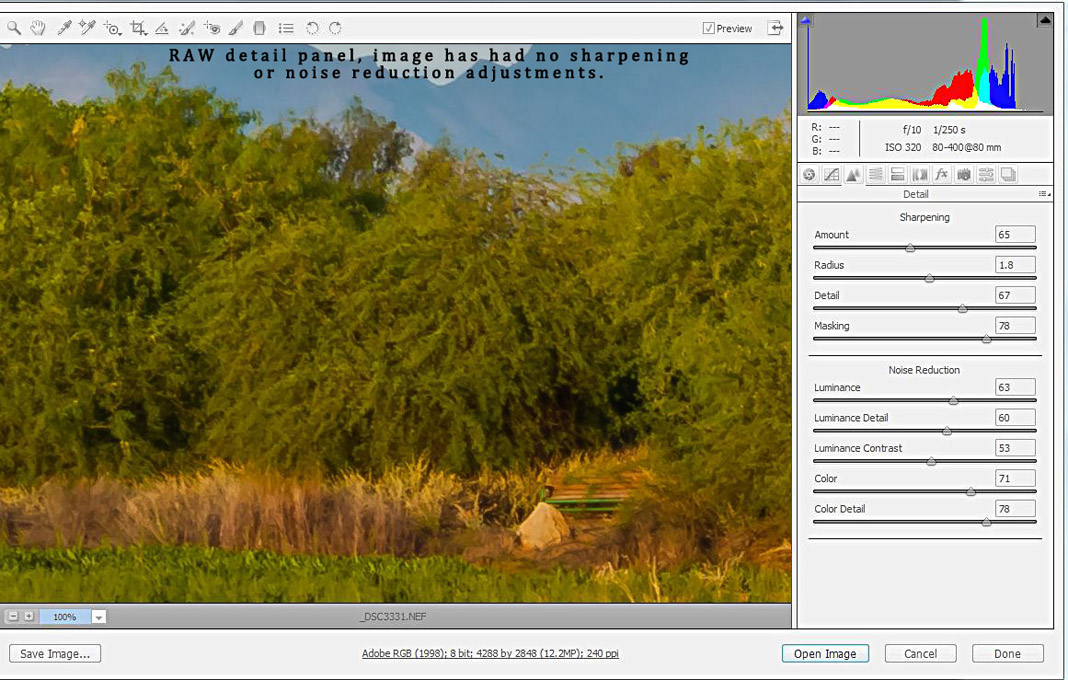
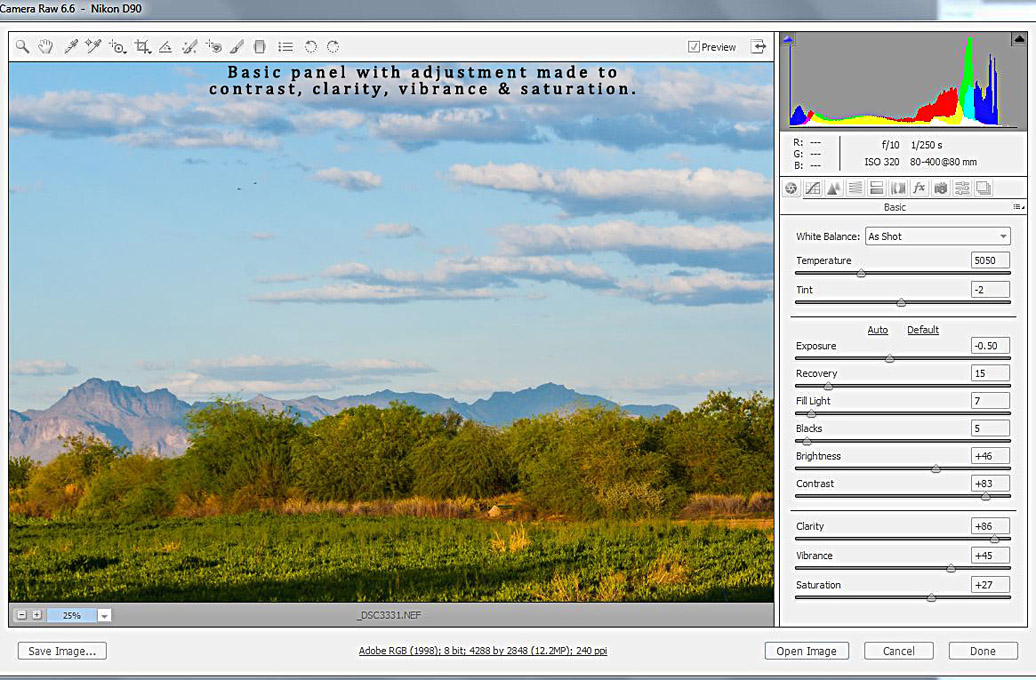
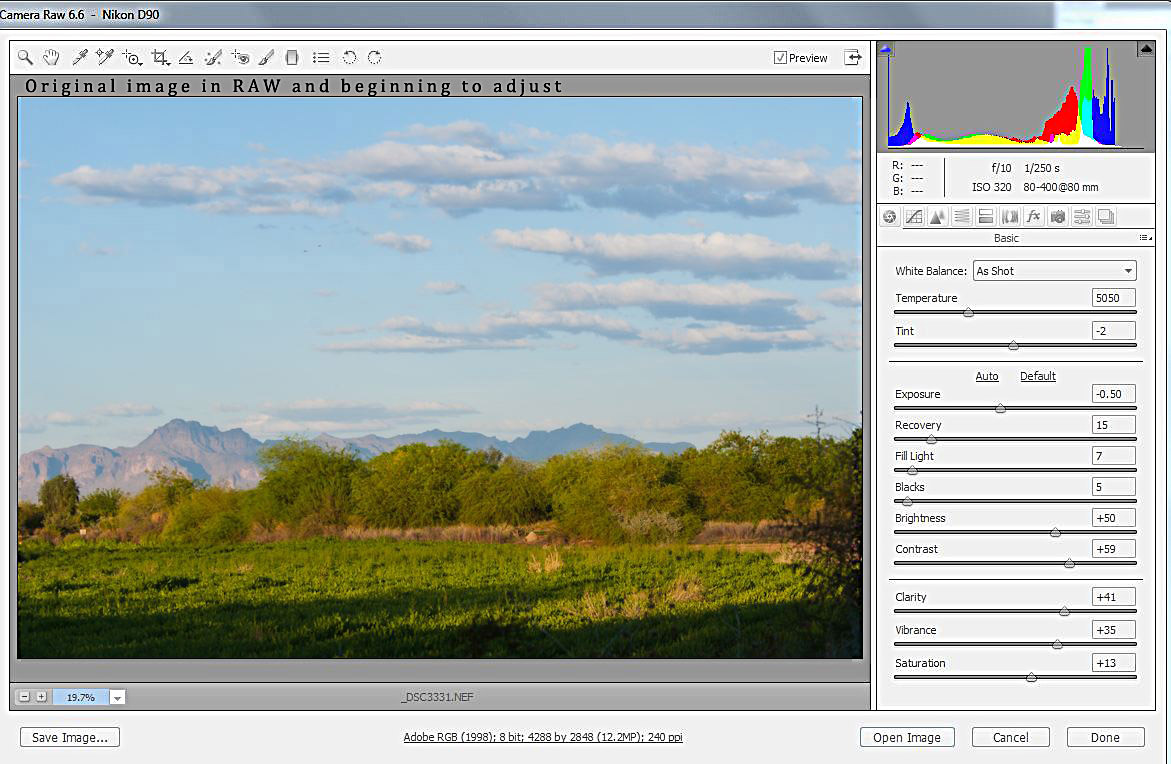
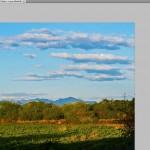
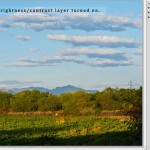
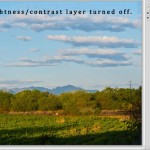
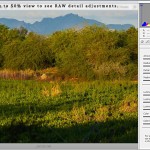
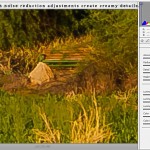
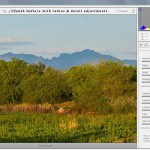
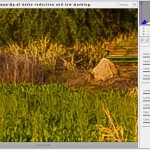
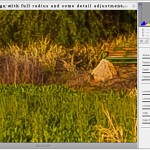
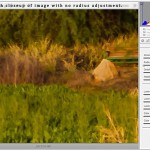
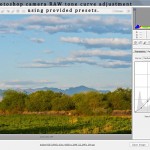
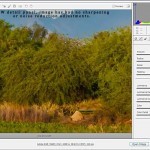
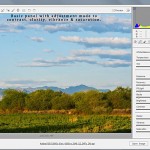
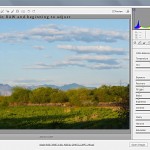
The painterly imagery is achieved without art filters. It is working with the RAW file in the Basic, Tone and Detail panels in Adobe Photoshop Bridge. I’ve included screen grabs to give you an idea of how the panel sliders impact the image.
Remember the RAW image, unlike the JPEG image from your digital camera will not have any in-camera enhancements and will contain the most digital data. That is why processing the digital image first in RAW is so effective in pulling the most from the image. However, since the RAW image has no sharpening, color or contrast adjustments—it can be deceptive as to whether you image is a “winner.” However, a poorly focused and poorly composed image may be tough to turn into art. But still you can do magic with an image in post-processing to make it more powerful.
The Basic panel gives you a wide range of adjustments and I encourage you to play with everything since it is non-destructive to the RAW file even if you select Done—because when you reopen the RAW file you can always move the adjustment sliders. Anyway working with the exposure adjustments and then later in the Tone panel—you can often pull detail out of “blown highlights” or a very dark image. (Yup, like when you forgot to reset the ISO or didn’t take the camera setting out of manual mode—I’ve discovered gorgeous images in an apparently black photograph.)
The Tone Curves panel offers sliders for highlight, light, shadow and dark. It is particularly useful when trying to pull detail within the highlights/whites such as bird feathers or snow. Play with the Tone panel options—the advanced setting parametric allows you to select each range from highlight, light, shadow and darks. The point panel has an option area that if you highlight it, you can the roll through effects using the roll feature on your mouse to find your desired adjustment.
The Detail panel creates sharpening and noise reduction adjustments for the RAW image. Remember to follow the reminder to view the image at least 100 percent. The sliders for sharpen, radius and threshold help to bring out textures in the image but also make “noise—but mask and noise-reduction adjustments smooth it away. Mask and Noise reduction create a creamy look up-close. It is all a matter of preference but in landscape imagery the “crunch” may be more desirable than in portraiture or macro images… it is all in what you want to express.
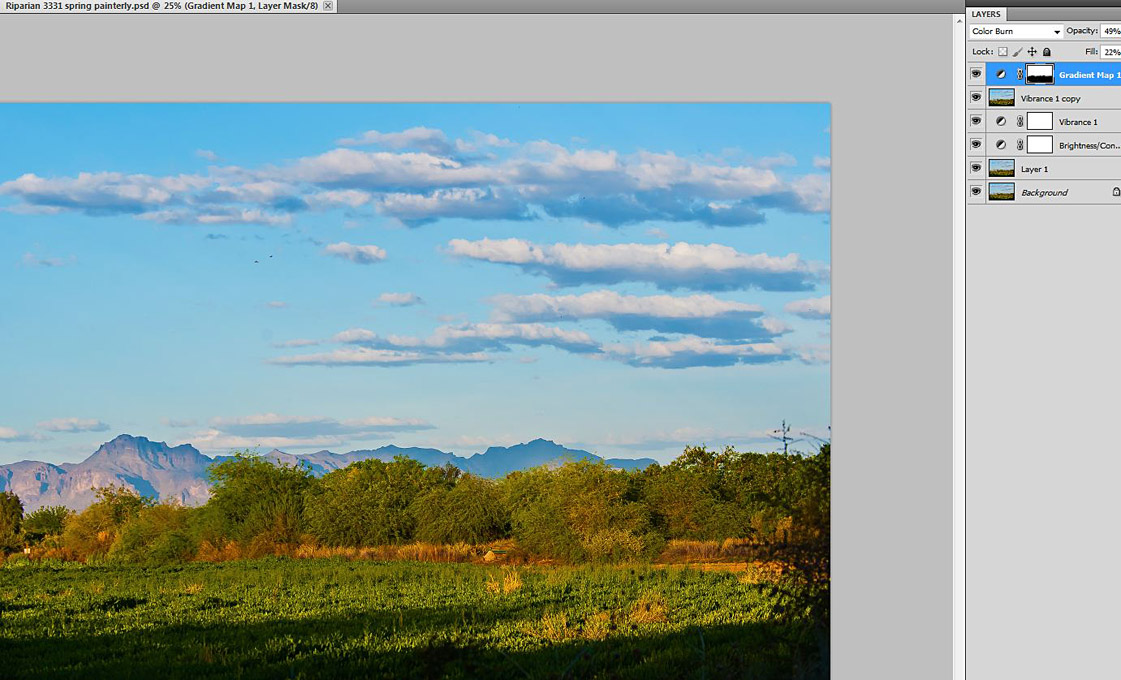
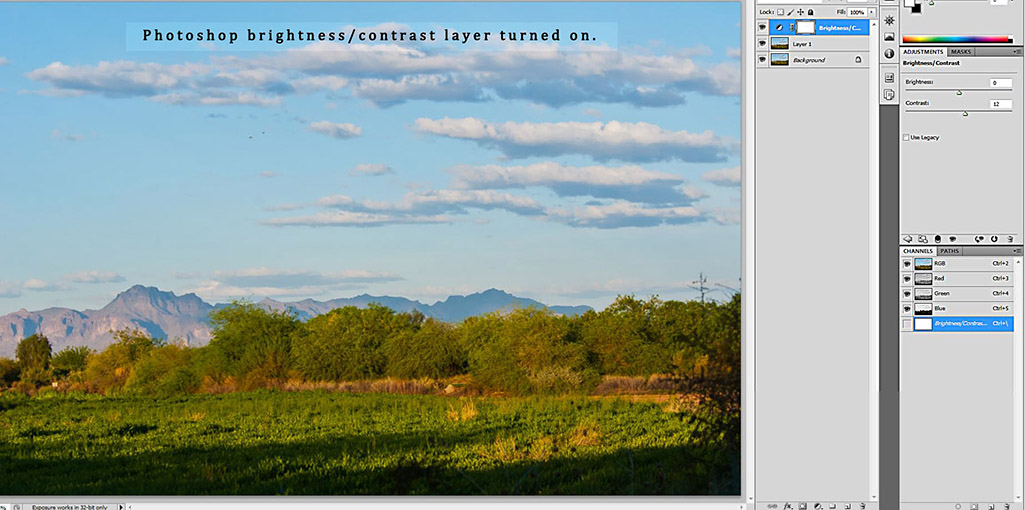
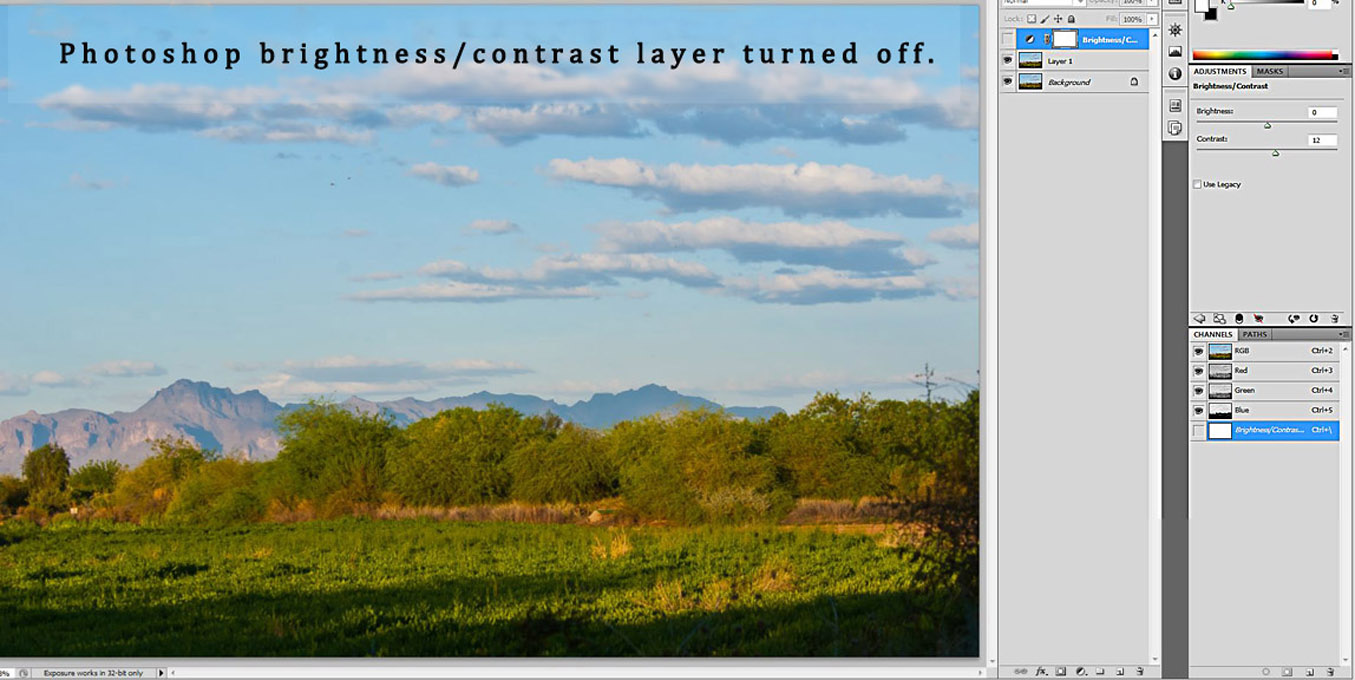
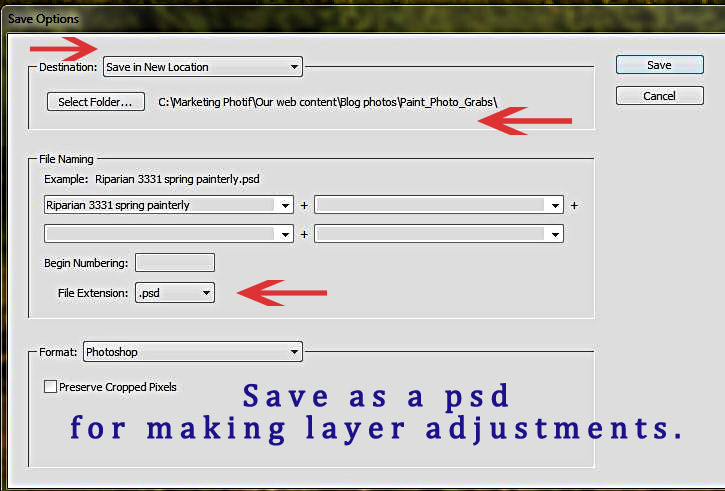
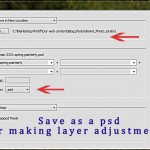
Once the adjusted RAW image is saved as a PSD or TIFF—you are ready to work with it in the Photoshop workspace. Work more with refining the image enhancements using layer masks and selections. You can work incrementally duplicating layers, merging layers and keeping all these changes on the workspace panel while you make these layers visible or hidden. Also work with the set blending mode of the layer (HINT-when highlighted you can again use the roll feature of the mouse to quickly run through the blending options). Play with the opacity and fill options for the layers. You can even open the history panel and as you make changes you can do a snap shot (the little camera icon).
Eliminate what doesn’t work. Once you’ve achieved the imagery refinement/enhancement the last step is sharpening.
I duplicate the adjustment layers and image layer and then merge that duplication into one sharpening layer. I use the Unsharp Filter first in this final step. Again, play with the sliders, make sure preview is checked and view the adjustments in the 100 percent or above mode. When you are happy with the result-you might want to duplicate that layer and work with the Selective Sharpening Tool (it looks like a triangle in the tool panel)—I work at 50 percent strength. Selectively sharpen an area to create more dimension or texture. You adjust the radius of the sharpen tool according to the area you want to work on, and “scrubbing” is interesting or a disaster—that is why I suggest preserving the first run of the sharpening layer. But you can always “undo” in the editing drop down menu. Another technique is creating separate layers of sharpening and work with the opacity/fill of each layer and working with layer masks.
Photography tip—SAVE your file frequently as you work. I have had some issues with Photoshop—more than likely it is the RAM in my computer and lost my work. So save often.
Happy experimenting, and please do leave comments or provide a guest post of your happy experiments, photography tips, Photoshop or other post-processing tips!

